Friday, December 21, 2012

Irish Whiskey Cake recipe! Try it


IRISH WHISKEY CAKE
Fine Cooking magazine gets the credit for this one.  Featured in the December 2012 issue

Cake

2 ½ cups unbleached all-purpose flour
2 cups granulated sugar
¾ cup unsweetened natural cocoa powder
1 ½ tsp. baking powder
1 ½ tsp baking soda
1 tsp. sea salt
2 large eggs (room temperature)
1 cup whole milk (room temperature)
½ cup cooking oil
1 ½ tsp. vanilla extract
1 cup hot coffee

Preheat the oven to 350 degrees.  Butter or spray three 9” round cake pans and line the bottoms with parchment.  Spray or butter the parchment.  (I use Bak-Klene spray for cake pans)

Briefly blend the flour, sugar, cocoa, baking powder, baking soda, and salt on low speed in your stand mixer..  Add the eggs, milk, oil, and vanilla and mix at low speed, scraping the bowl as necessary, until the mixture is thick and creamy about 5 minutes.  With the mixer running, gradually add the coffee and blend just until combined.  The batter will be quite thin.  Divide the batter equally among the pans.  Bake 20 to 25 minutes until the center is firm and springs back when touched.  Cool completely in the pans on racks. 

Coffee-Whiskey Whipped Cream

1 Tbs. instant espresso granules
¼ cup Irish whiskey, such as Jameson
3 cups heavy cream
3 Tbs. packed dark brown sugar

Clean and chill the mixing bowl and whisk attachment.  In a measuring cup, stir the instant espresso into the whiskey until completely dissolved.  In the chilled bowl, whip the cream on medium-high speed while slowly adding brown sugar until medium peaks form, 2-3 minutes.  Add the whiskey mixture and continue to whip just until combined.

Finish

Level the layers if needed.  
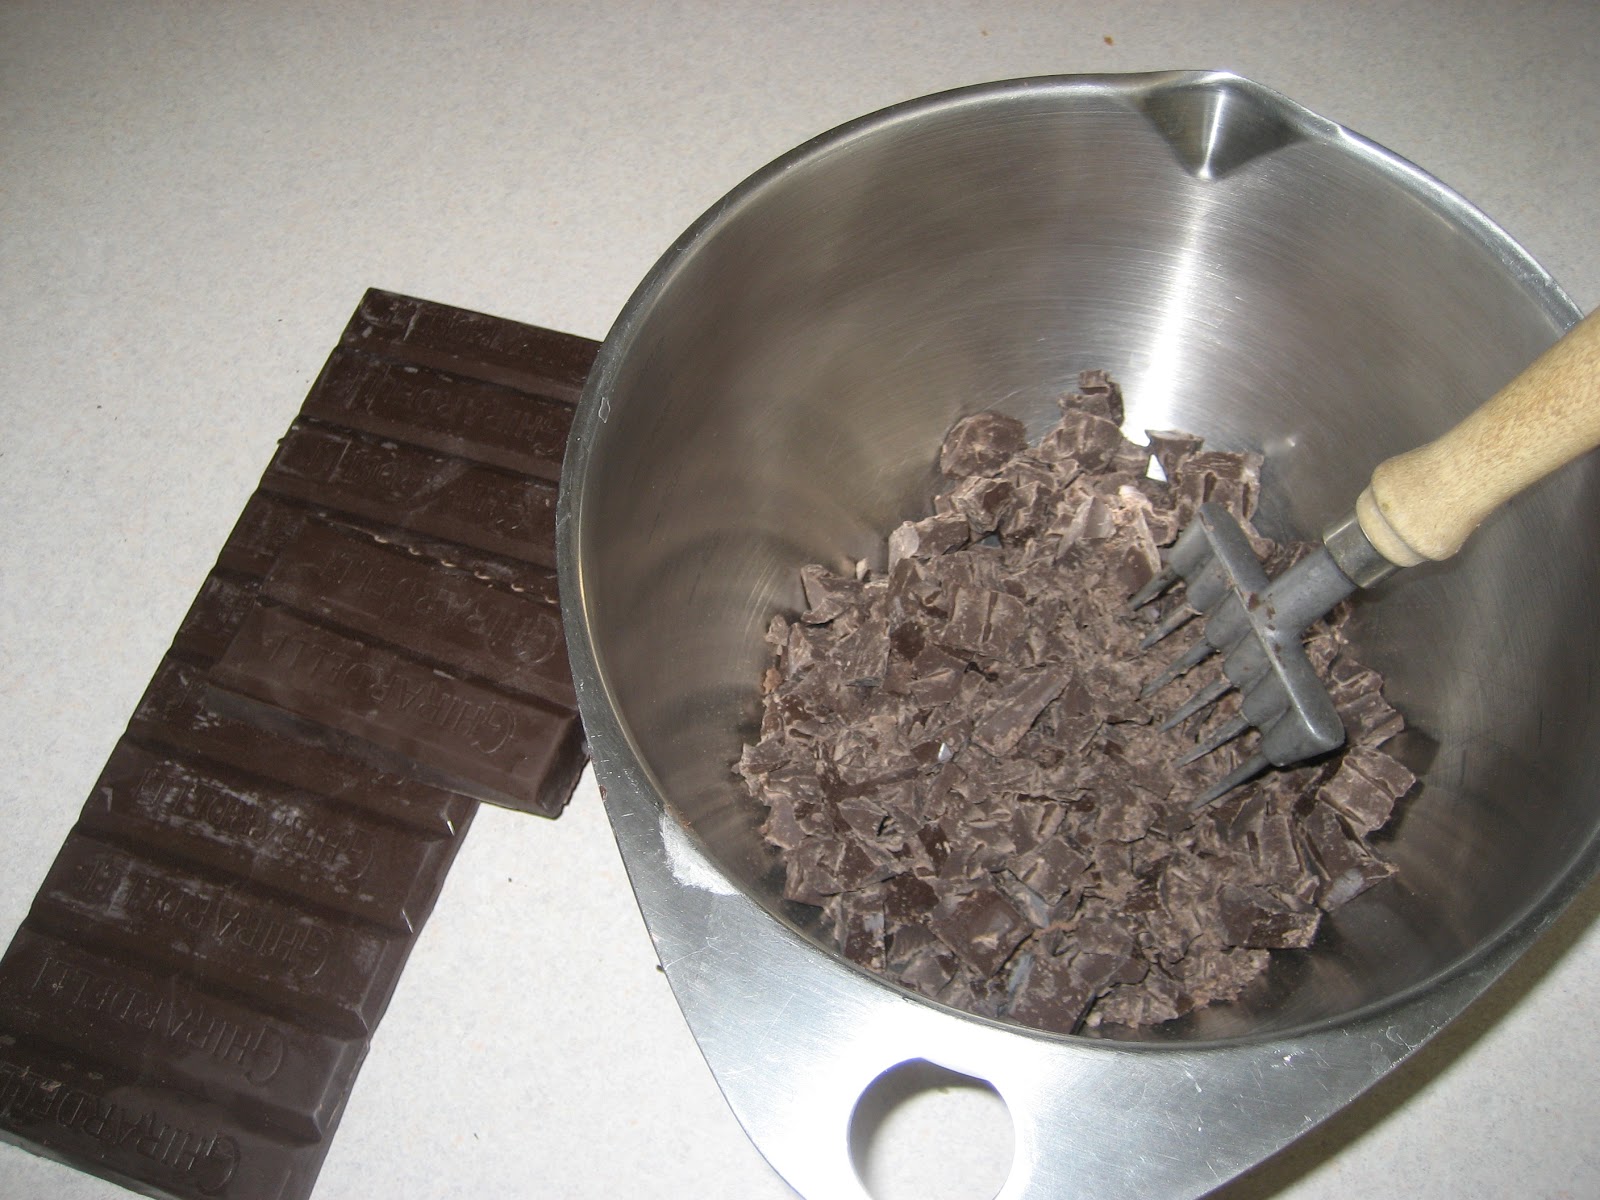
Spread equal amounts of cream over each layer.  Make large white and dark chocolate curls for decorating the top by heating bars of chocolate in the microwave just until they can be shaved into curls.  Arrange on top.  I put the white ones in the middle and surrounded them with the dark ones. 

CAUTION

This cake does not hold well.  It is best served immediately.  Two hours in the refrigerator max.

Monday, December 17, 2012

How to Temper Chocolate!!


TEMPERING CHOCOLATE.


          Choose a sunny, dry day to accept this challenge.  Humidity will affect the final product.  Also, don’t try this in a very warm kitchen or in a direct draft. 
          The more chocolate you melt, the easier the process.  However, most of us can’t handle five pounds of melted chocolate, so if you must reduce the amount, also reduce the size of you utensils.  My double boiler is very large, so I purchased a small metal bowl which measures about 6 1/2” across including a ½” lip.  I can now use a small saucepan of the same size.  Remember that the pan must be deep enough to prevent the bowl from touching the water.
          Start with about 3 cups of chopped chocolate.  I like Trader Joe’s Dark Chocolate for dipping.  If Joe is not close to you (I make a round-trip of about 120 miles to get mine, so I don’t want to hear any whining).  If you prefer to order the good stuff online, go for Callabaut.  I also found this at a restaurant supply store in an 11 lb. block.  Hold out about 1/3 of the chopped chocolate and heat the remainder in the bowl over steam until all lumps have vanished.  Check the temperature.  Your goal is 108F degrees for dark chocolate, 106F for milk and 104F for white.  Remove the bowl to the counter top.  If you place it on a folded towel, you reduce the possibility of allowing water to drop into your chocolate and the bowl slipping onto the floor.  Either scenario will cause you to give up your career as a chocolatier before it ever begins.  Water and other cold liquids are the enemy of warm chocolate.  I don’t need to tell you about the floor – the thirty second rule won’t help you here.
           Now we are ready to “seed” the chocolate.  That is you will slowly add the remaining 1/3 about ¼ cup at a time until all is melted.  Stir vigorously all the time until your mixture reaches 90/88/86F degrees respectively.  Stirring is very important to the proper crystal formation and bringing the temperature down. Be careful not to incorporate air bubbles.  When your temperature is correct, check your chocolate by dipping some out and allowing it to set for a few minutes. When it is still very shiny, keep stirring.  Perfectly tempered chocolate will be slightly shiny and have a decided snap when broken.  If yours does not, don’t give up.  Keep practicing.
          If you just can’t handle disappointment, don’t temper. Using a double boiler, slowly add 1/3 cup tasteless vegetable oil to 3 cups of chopped chocolate while constantly stirring over medium heat until completely melted Allow to cool until it is dipping consistency.  You can reheat as needed.
          Now, dip those truffles using a candy dipping fork and place them on parchment paper to cool and solidify.  YOU DID IT, YOU REALLY DID IT! 
          Write to us and tell us of your success!  If it didn’t work for you, be very, very quiet…………not really, let us know what happened and maybe we can diagnose the problem. 
          I wish you sweet success.


Wednesday, December 12, 2012

Day 2 of Christmas Candy! TRUFFLES


Now for the challenge round:

CHOCOLATE TRUFFLES
          Truffles are usually found in specialty candy stores.  They are often round and either covered with chocolate or unsweetened cocoa.  The center is a very rich, to-die-for ganache which may or may not be flavored.  Even though they look intimidating and may cost as much as $2.50/pc, truffles are not difficult to make.  Making ganache is a very simple process, and if you choose to cover with cocoa powder instead of dipping, you are home free.  You can put them in those fancy paper cups in a fancy box, tie it with a bow, and the world will beat a path to your door.  I like the chocolate dipped version a little better, however, so here goes –

I have chosen to use dark chocolate for a very important reason.  I like it!  Now that that is out of the way, I will also tell you that my very favorite flavor is a raspberry and balsamic vinegar combination.  I don’t want to hear a single yuck until you have tried it.  I can promise you that it does not even resemble salad dressing.  The marriage of opposites is ever so pleasing.  If you don’t like it, I will give you back double what you paid for the recipe. 
INGREDIENTS

1 cup heavy cream
2 Tablespoons corn syrup
¼ Teaspoon sea salt

16 oz good quality dark chocolate (Guirardelli bar or chips will work well)

2 Teaspoons raspberry extract
1 Tablespoon balsamic glaze (I found this at Trader Joe’s.  Balsamic vinegar will do, but the glaze is thicker and less likely to soften the candy too much)


If you are not using the Guirardelli large chocolate chips, chop the bar into bits about the size of dice.  Stir together the cream, syrup and salt and bring just to boiling over medium heat.  Pour over chocolate in medium bowl and allow to stand five minutes.  Stir from the center until the mixture comes together into a smooth glossy mixture.  This will take 8-10 minutes.  Add the flavorings.  Refrigerate at least 2 hours, preferably overnight. 

When set, scrape along top with a spoon and roll into 1 inch balls.  Place on parchment lined cookie sheet and return to refrigerator for 20 minutes.

At this point, you may elect to roll your trophies in cocoa or jump into the deep water.  Come back tomorrow for TEMPERING CHOCOLATE.

Monday, December 10, 2012

EASY peppermint bark, make your own Christmas candy!!


Christmas Candy-Easy peppermint bark

          This year I have jumped into the deep water of candy making.  I spent almost my entire goodie budget on chocolate – good chocolate –very good chocolate! The confection is o good ($$$) in fact that I wrapped every gift and baked every cookie in order to avoid what could be failure.  Good chocolate, you see, must be tempered, a process that takes some practice when it is to be used as a dipping chocolate. Failure would mean that my candy could look dull or streaked or worse, the product of an amateur. Finally I put on my big girl pants and did it!  I made photographs as I went along so I could share my experience with you.  Of course, if it had gone badly, I would not have had to tell you, would I?
          If you know me, you know that I never approach a new skill by trying the simplest project.  I usually start at the top and work down. Thirty years of experience wants me to advise you not to do as I do.
 If you wish to start your adventure into Candyland with a simple project, I suggest you begin with the trendy peppermint bark which can be accomplished by simply melting white chocolate, spreading it on a parchment paper lined baking sheet, allowing it to cool slightly and sprinkling the top with crushed peppermint.  When it completely cools, break it into random shapes.

TIPS for Peppermint Bark:
·        Use quality chocolate, either white, milk, or dark.  The amount does not matter as long as you have enough peppermint to cover it.
·        Use a double boiler to melt chocolate.  Some recipes suggest using the microwave, but I advise against it.  First, I think microwaved food is of the devil, and secondly it is VERY easy to burn chocolate.  If you took my advice and used the good stuff, you surely would not want to waste it.  You can create a double boiler by using a glass or metal bowl that fits a pot that you already own.  Be sure that the steam does not escape around the sides as a steam burn will ruin your day. 
·        Place the upper container which contains the chocolate over the pot which has about 1 inch of water in the bottom.  Heat it without allowing the water to touch the bottom of your upper container – steam only. Stir gently until the chocolate is completely melted.
·        Buy the large candy canes to crush.  Some type of Dollar Store is the best place to look.  Put them in a gallon-sized freezer bag on a hard surface and beat them(good time for venting) with the smooth side of a meat tenderizer.  Well, actually you can crush them too much.  You don’t want candy sand, but neither do you want huge chunks of peppermint.


TUNE IN TOMORROW FOR THE REST OF THE STORY, amazing chocolate truffles!!